
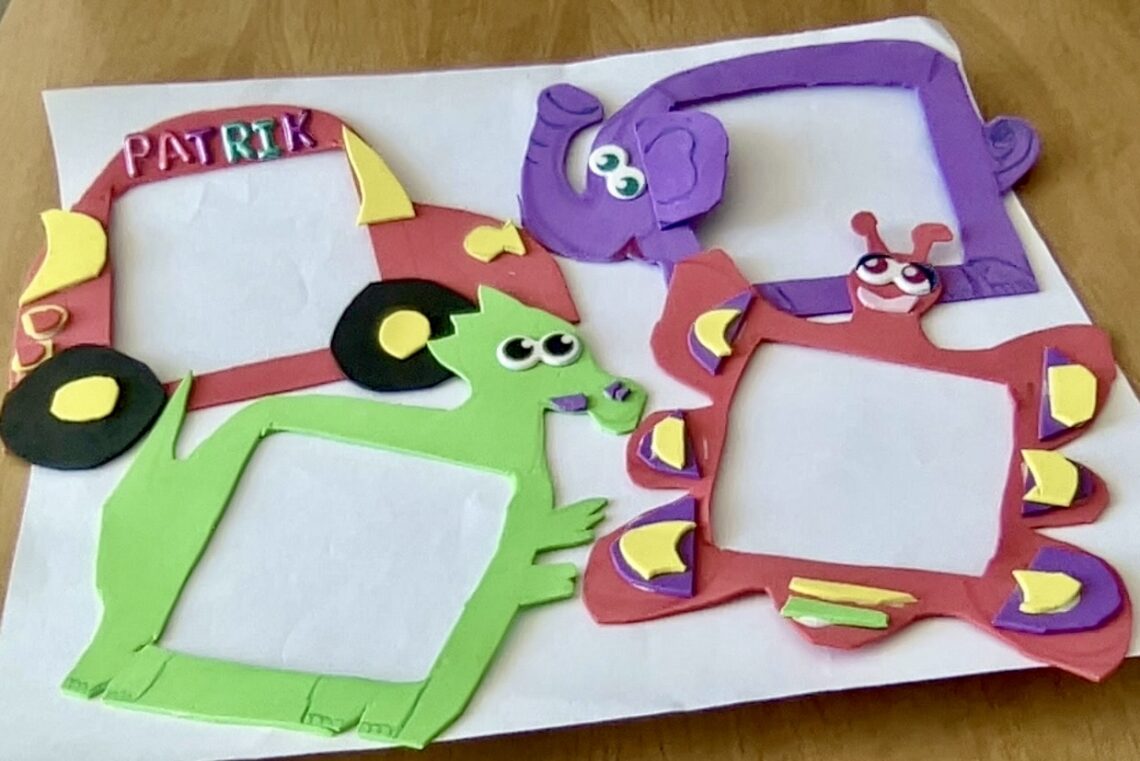
How do children create decorations for light switches?
“EVERY CHILD IS AN ARTIST”
Picasso
It’s raining outside; my kids are already bored with LEGO towers. Little houses with blankets and pillows are no longer fun, too. Every room in my house looks like a landscape after a tornado, an earthquake, and a flood all at once. This is the main reason why I take my children to the creative corner and share with you the “little puzzles” DIY project.
What do the light switches look like in your home?
Especially in my children’s room, we have colorful curtains, bedding, carpet, and the rest of the furniture. Only the light switches are original, basic – not matching the colour. This is the primary reason why we created decorations for light switches. Get ready for the fact that your kids are Cheeky Monkeys and will want to decorate all the light switches in your house.
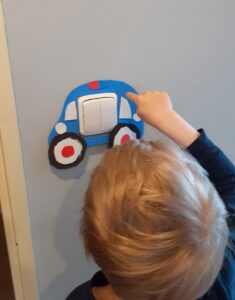
The first decoration was placed in the playroom (police car). The next step was the butterfly-shaped decoration, which my daughter was most pleased with. For the next switches, we chose the shapes of the ornaments: elephant and dragon (for a five-year-old boy, a dragon, and for a two-year-old girl, a dino).
What little puzzles will be created today?
DECORATIONS FOR LIGHT SWITCHES
What do my little puzzles not need?
DISTURBING PARENTS
I watch their work and just help to draw the main pattern (car, dragon, butterfly, elephant). The art of my “little puzzles” is not professional, the patterns of the creations change, the circles are not perfectly round, and the glue drips onto the table and more.
What do my little puzzles need?
- full stomach
- something to drink nearby
- smile
- good energy
And everything from the list below:
☆table cover
☆colourful foam sheet
☆square blocks: large 11cm, small 9cm (depending on the size of your switches)
☆empty playdough cups: small 2cm, large 4cm (for shape car wheels)
☆wine cork: 1cm or 1.5 (for shape flashing light)
☆glue
TIPS: wooden or plastic cocktail sticks to apply glue will help a lot)
☆scissors
☆plus plenty of unique ideas
What will we use for an unplanned mess?
☆toilet paper
☆wet wipes
There may be different patterns for this DIY project. The main procedure for creating them is always based on the shapes of the small and large squares. The small square fits the switch, and the large square is used to create various decorations.
I will show you step by step how we create pretty decorations for light switches:
- Draw the large square and draw the small one in the middle of the large one.
TIPS:
- a small square is much more important.
TIPS:
Check the size of your light switches first, then find a square the same size.
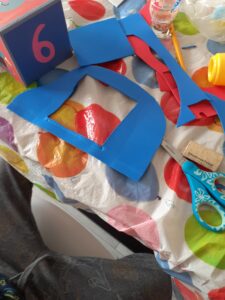
2. Cut out a small square from the shape of a small box.
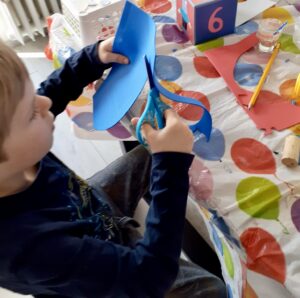
3. Mom will outline the shape of a car or butterfly, above the line of a large square.
4. Draw two large circles from the shape of a playdough cup.
5. Cut two wheels and glue them to your car decorations.
6. Draw two small circles from the shape of a playdough cup and cut them.
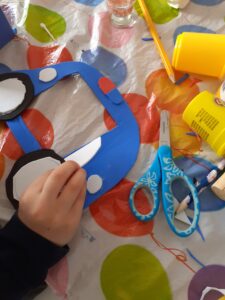
7. Glue two small circles onto the big wheels.
8. More details, such as car lights or low beam headlights, can be colored or glued on.
9. Check out our photos that will help your child with creations.
Also, see our Instagram videos at
https://www.instagram.com/missmarbell_
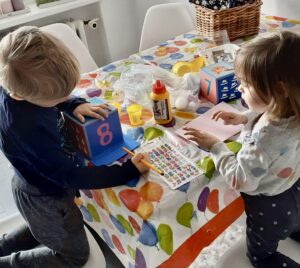
DRAWING THE LARGE SQUARE
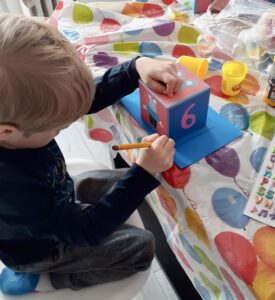
DRAWING THE SMALL SQUARE
CUTTING THE LARGE CIRCLES
CUTTING THE SMALL CIRCLES
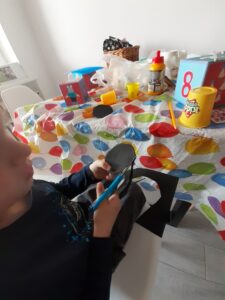
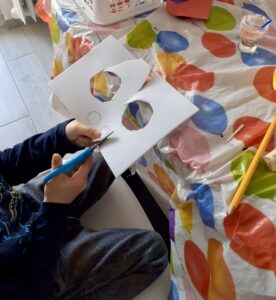
CUTTING THE SHAPE OF THE CAR
CUTTING THE SMALL SQUARE
ADDING DETAILS
CAR DECORATION READY


One Comment
Pingback: