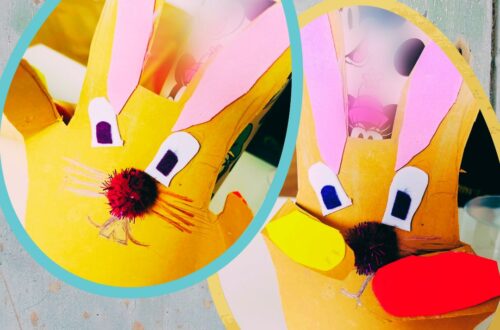
How to make an Easter chick card with a dishwashing sponge?
We are slowly noticing that the days are longer and my children get a double dose of energy as a result. We spend entire weekends at the playground, and in the evenings, when we finally drag our children home, they still want to play and be creative.
It’s good that the Easter holiday is approaching, the grandparents will take care of the children, and we, the parents, will have a rest.
Below I will attach some Easter coloring pages for children to print out and today in the creative corner of “LITTLE PUZZLES “ also something related to Easter.
What little puzzles will be created today?
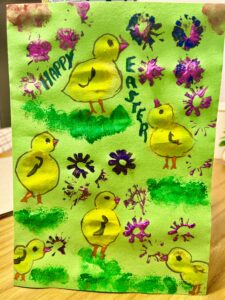
EASTER CHICK CARD
What my little puzzles don’t need?
DISTURBING PARENTS
My kids had so much fun with this DIY process. When they are older, they spend more time together, share paints, and help each other. Definitely, Mommy can just watch and be proud.
What do my little puzzles need?
▪︎full stomach
▪︎drink near to them
▪︎smile
▪︎patience-only because they create together
▪︎good energy
And everything on the list below:
☆tables cover
☆paints
☆dishes sponge
☆straw
☆markers
☆scissors
What will we use for an unplanned mess?
☆ wet wipes
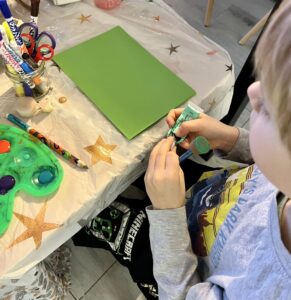
Step-by-step process of create DIY EASTER CHICK CARD
1. Cut the sponge into several pieces.
TIPS – it’s good if you cut out several round pieces
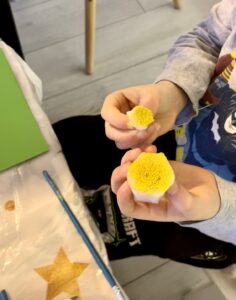
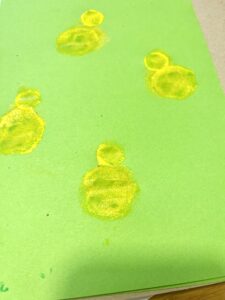
2. Soak the pieces of cut sponge in yellow paint.
3. Put a sponge on the paper and create little chicks.
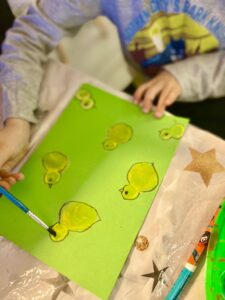
4. Use a marker or paint to draw eyes, a mouth, legs and wings.
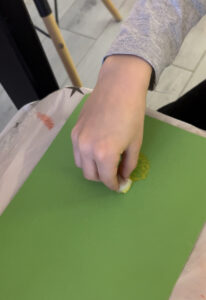
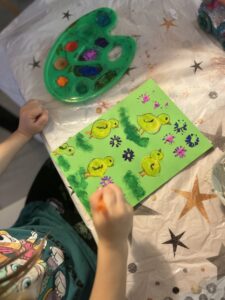
5. Use the rest of the sponge to create green grass.
6. With straw make a flowers.
7. Check out our photos from today’s design process. Also, see our videos on Instagram at https://www.instagram.com/missmarbell_/
PREPARE SPONGE
MAKE A CHICKEN SHAPE
USE STRAW TO MAKE FLOWERS

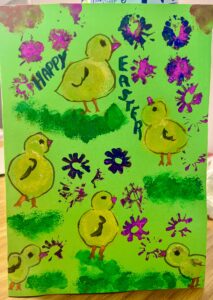
EASTER CARD READY


You May Also Like
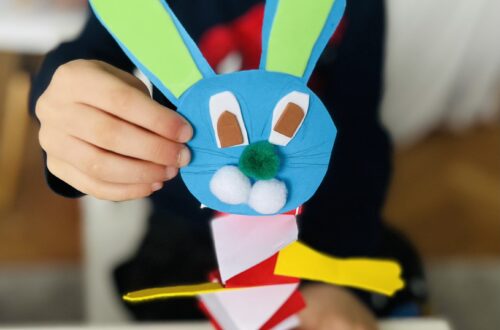
How the children made a jumping bunny out of paper?