How the children made a jumping bunny out of paper?
“EVERYBUNNY NEEDS SOMEBUNNY SOMETIMES”
I’d like to say that it’s spring outside the window, but I will lie. The snow and frost are back again, which of course is amazing for my kids. They have another snowball fight and come home drenched.
However, this does not change the fact that my children have lost all their energy. In the afternoon, when they are at home, they still want fun or creativity. Very often my older son jumps, runs and behaves like the rabbit from the “Duracell battery” ad.
This gave me the idea to create with my “little puzzles” a DIY PAPER BUNNY. But not a calm, cute bunny sleeping on my lap, we’ll make a bunny as we heard from the song: “Hop little bunny hop, hop, hop.” Maybe thanks to this jumping bunny’s craft, we will be able to call spring as soon as possible.
https://littlepuzzlesandme.com/how-to-create-a-diy-bicycle-out-of-cocktails-straw/
What little puzzles will be created today?
JUMPING BUNNY made of paper
What my little puzzles don’t need?
DISTURBING PARENTS
This project was made by my 5 year old son. He had no problems with cutting, gluing, the whole creation process.
What do my little puzzles need?
▪︎full stomach
▪︎drink near to them
▪︎smile
▪︎chill out music
▪︎good energy
And everything on the list below:
☆tables cover
☆glue
☆colouring paper or construction paper
☆pencil
☆pom moms
☆scissor
☆paper coffee cup (this helps children to draw a circle)
☆everything that will help your child make the JUMPING BUNNY look unique.
What will we use for an unplanned mess?
☆ wet wipes
☆ kitchen paper
Let’s start the process of creating a DIY JUMPING BUNNY together:
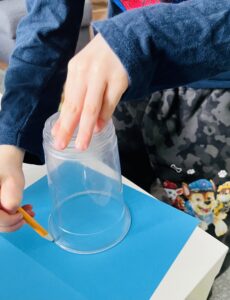
1. Trace a circle shape from a coffee paper cup.
TIPS:
A cup of medium coffee is best.
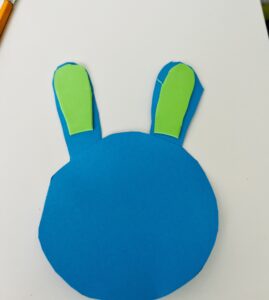
2. Cut one circle out of paper and two bunny ears out of paper.
3. Glue the ears to the bunny’s head.
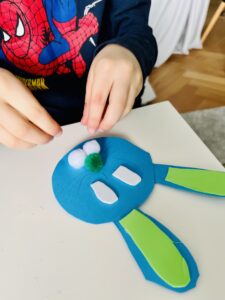
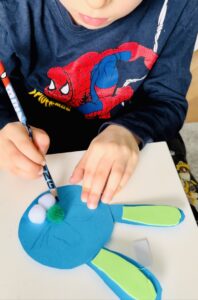
4. Cut out more details: ears, nose, eyes, paws.
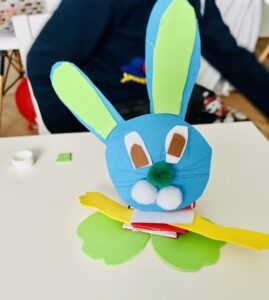
5. Use the pom poms to create bunny nose and teeth.
6. Draw bunny whiskers.
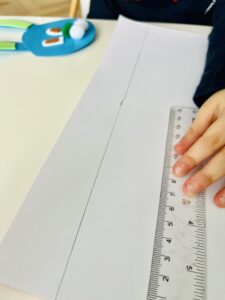
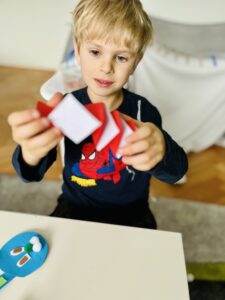
7. Cut 2 long strips about 2cm wide of each color of construction paper.
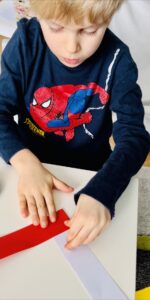
8. Fold first strip of paper over the other and glue them.
9. Repeat folding the pieces of paper until you get an accordion (photos below will help).
10. Glue the last piece of folded paper together.
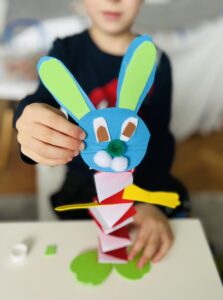
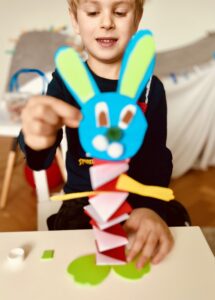
11. Take your prepared bunny head and glue it to the top of folded strips.
12. Cut out bunny’s feet and glue them to the bottom of folded strips.
Also, see our Instagram videos at https://www.instagram.com/missmarbell_/
TRACE A CIRCLE SHAPE FROM A COFFEE CUP
CUT OUT ONE CIRCLE AND TWO BUNNY EARS AND GLUE THE EARS

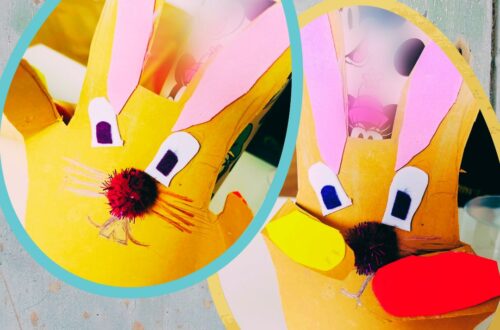
USE THE POM POMS TO CREATE BUNNY NOSE, TEETH AND DRAW THE BUNNY WHISKERS
DRAW AND CUT 2 LONG STRIPS ABOUT 2CM WIDE

FOLD THE FIRST STRIP OF PAPER OVER THE OTHER. GLUE THE FIRST AND LAST STRIP
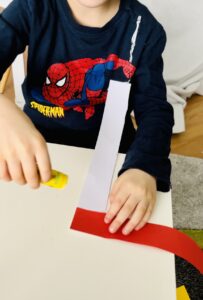
GLUE THE BUNNY’S HEAD ON THE TOP AND THE BUNNY’S PAWS ON THE BOTTOM


You May Also Like
How to make an Easter chick card with a dishwashing sponge?