What Easter Bunny project is best for small children?
“The Easter Bunny job – proves that my children can find chocolates everywhere.”
In our village, surrounded by mountains, spring is trying to awaken in March. A few crocuses and snowdrops bloom, but they are still covered with a layer of snow. Daytime temperatures are around 11 degrees, and nighttime temperatures are -2. The weather forecast still predicts snowfall and low temperatures in our region.
On winter afternoons like these, I try to keep the kids occupied with something more than watching cartoons, even though I love them myself https://littlepuzzlesandme.com/mommy-and-dark-magic/, so we come up with a creative DIY project, this time for Easter.
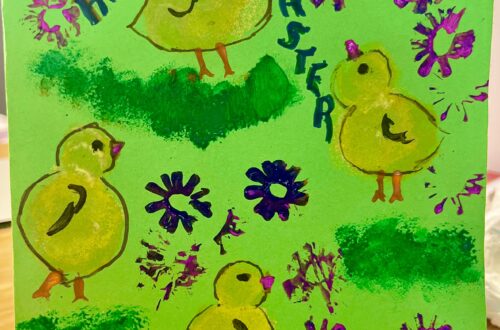
For my children, Easter is a time for bunnies, eggs, and other chocolate treats. My little Dora, in particular, has been involved in some new crafts this year, which are very simple, pretty, and quick to make for children her age (5).
What little puzzles will be created today?
EASTER BUNNY
What do my little puzzles not need?
DISTURBING PARENTS
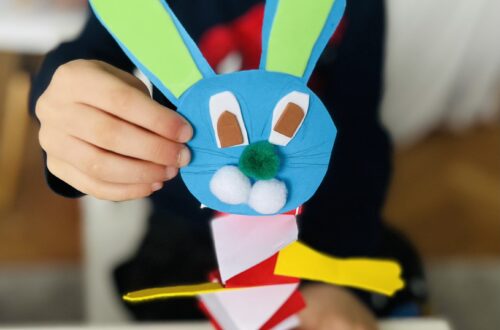
This time, Patrick (my elder son) was not interested in Mom and daughter’s handicrafts. https://littlepuzzlesandme.com/how-do-children-make-a-funny-jumping-bunny-from-paper/.
And I chose a really simple DIY Easter Bunny project. Children around 3 years old can handle this Easter Bunny art on their own.
What do my little puzzles need?
- full stomach
- drink near them
- smile
- patience – only because they create together
- good energy
And everything from the list below:
☆tables cover
☆scissors
☆glue
☆pencil or markers
☆fluffy pom-poms
☆coloured paper or construction paper
☆wiggly eyes
☆anything that will help your kids better decorate an Easter bunny
What will we use for an unplanned mess?
- wet wipes
- kitchen paper rolls
Let’s start the process of creating a DIY EASTER BUNNY together:
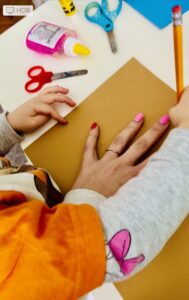
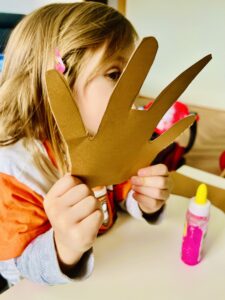
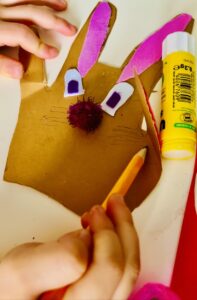
1. Trace mom’s hand to make the bunny shape.
TIPS:
A bigger hand helps more than a little one.
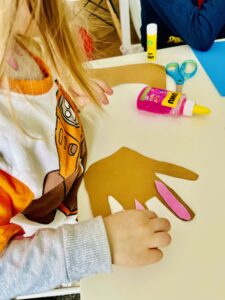
2. Cut out the shape of the bunny’s body.
TIPS:
To prepare the Easter bunny, we only need the shape of four fingers.
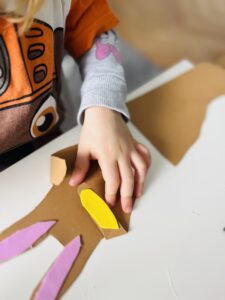
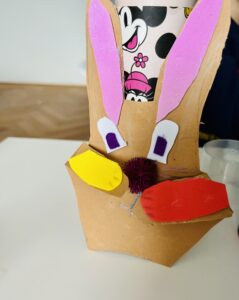
3. Cut necessary details to create an Easter bunny: eyes, ears, mouth, paws, etc.
4. Glue all the prepared details.
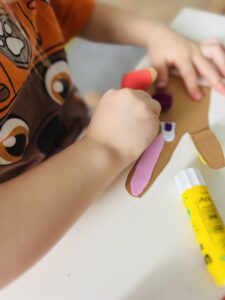
5. Use pom poms to create the bunny nose.
6. Draw whiskers and teeth.
7. Add googly eyes, pom poms, or anything to make the design more attractive.
TIPS:
Leave your children alone to create a unique design.
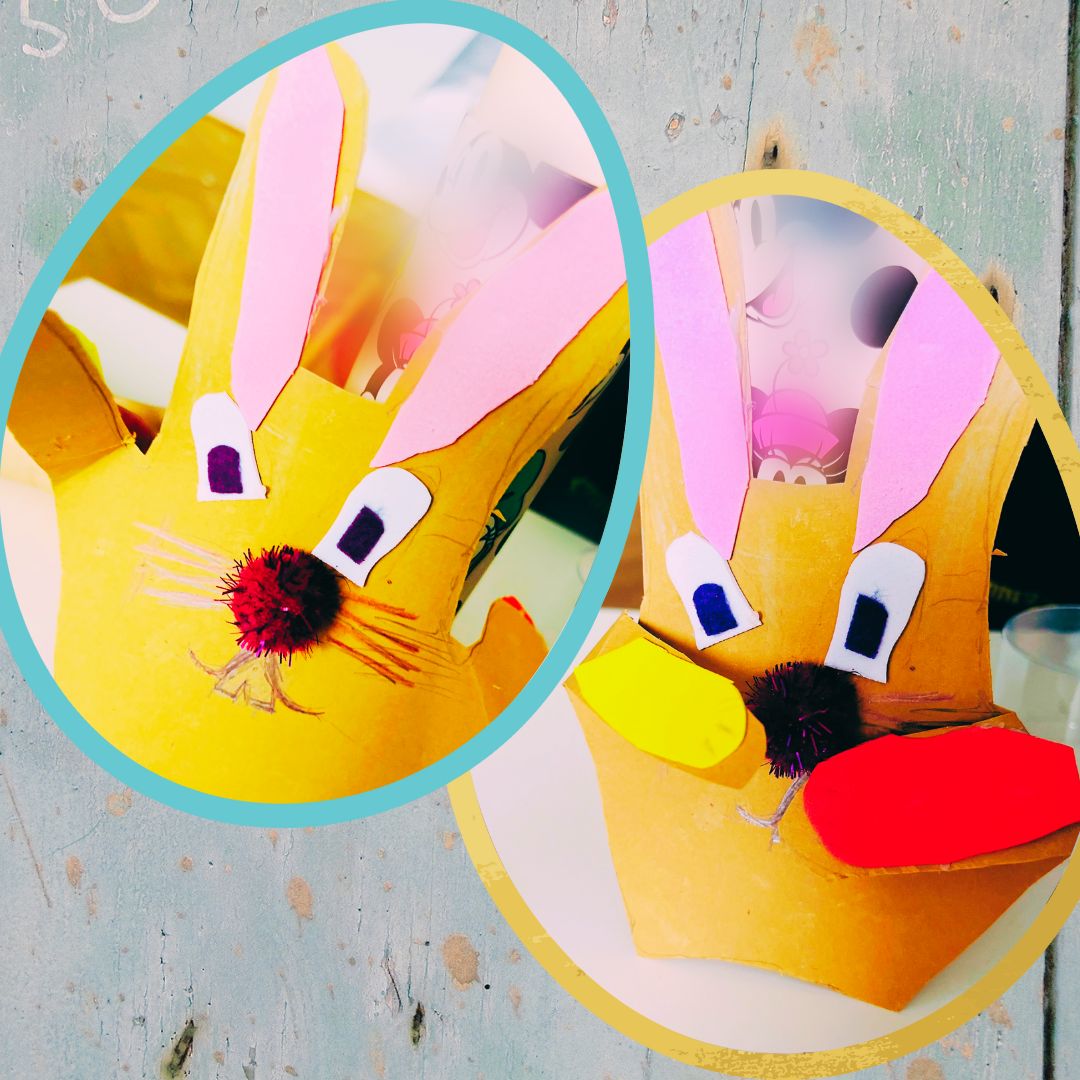
8. Check out our photos below.
More DIY PROJECTS at https://www.instagram.com/missmarbell_/
COLORING EASTER PAGES FOR FREE
TRACE MOM’S HAND TO MAKE THE BUNNY SHAPE
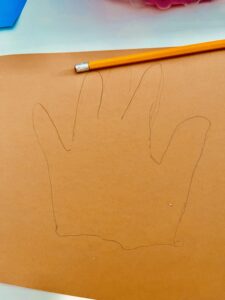
CUT OUT THE SHAPE OF THE BUNNY’S BODY
CUT AND GLUE ALL DETAILS: EARS, EYES, NOSE, PAWS
DRAW WHISKERS AND TEETH
EASTER BUNNY READY


You May Also Like
How the children made a jumping bunny out of paper?