How to make a card that will melt the hearts of grandparents?
“Grandchildren are always ready for surprises from grandparents. Make it work the other way too.”
My creative corner was created primarily with children in mind. From an early age, I want to introduce them to the world of art. Primarily art that my children can make themselves and with materials that are available in my home. Their DIY projects must be simple, fun and creative. Very often, a family appearing in our house looks at their small decorations and praises their handicrafts. It is very nice for us, especially for my children.
We often create “sharing is caring” projects. I found out that my children love to make crafts for someone (arts on stone, birthday cards, dry pasta bracelets, etc.). Handicrafts made with this method amused my children the most. Joy was also seen in the children who received little masterpieces from my children. I myself, trying on a bracelet for Mother’s Day, secretly shed tears of happiness. https://littlepuzzlesandme.com/how-children-create-a-pasta-bracelet-from-dry-pasta/
And that is why we are back to making cards that we will send to our loved ones (from the Czech Republic to Poland). This project is special to us because it is about grandparents. In Poland, on January 21 and 22, Grandma and Grandpa Day is celebrated.
In addition, on January 21, my goddaughter was born, and she will celebrate her 11th birthday. Patrick will make a card for Wiktoria. I will be responsible for the design of the card for grandparents, but respecting Patrick’s choice of colors.
What little puzzles will be created today?
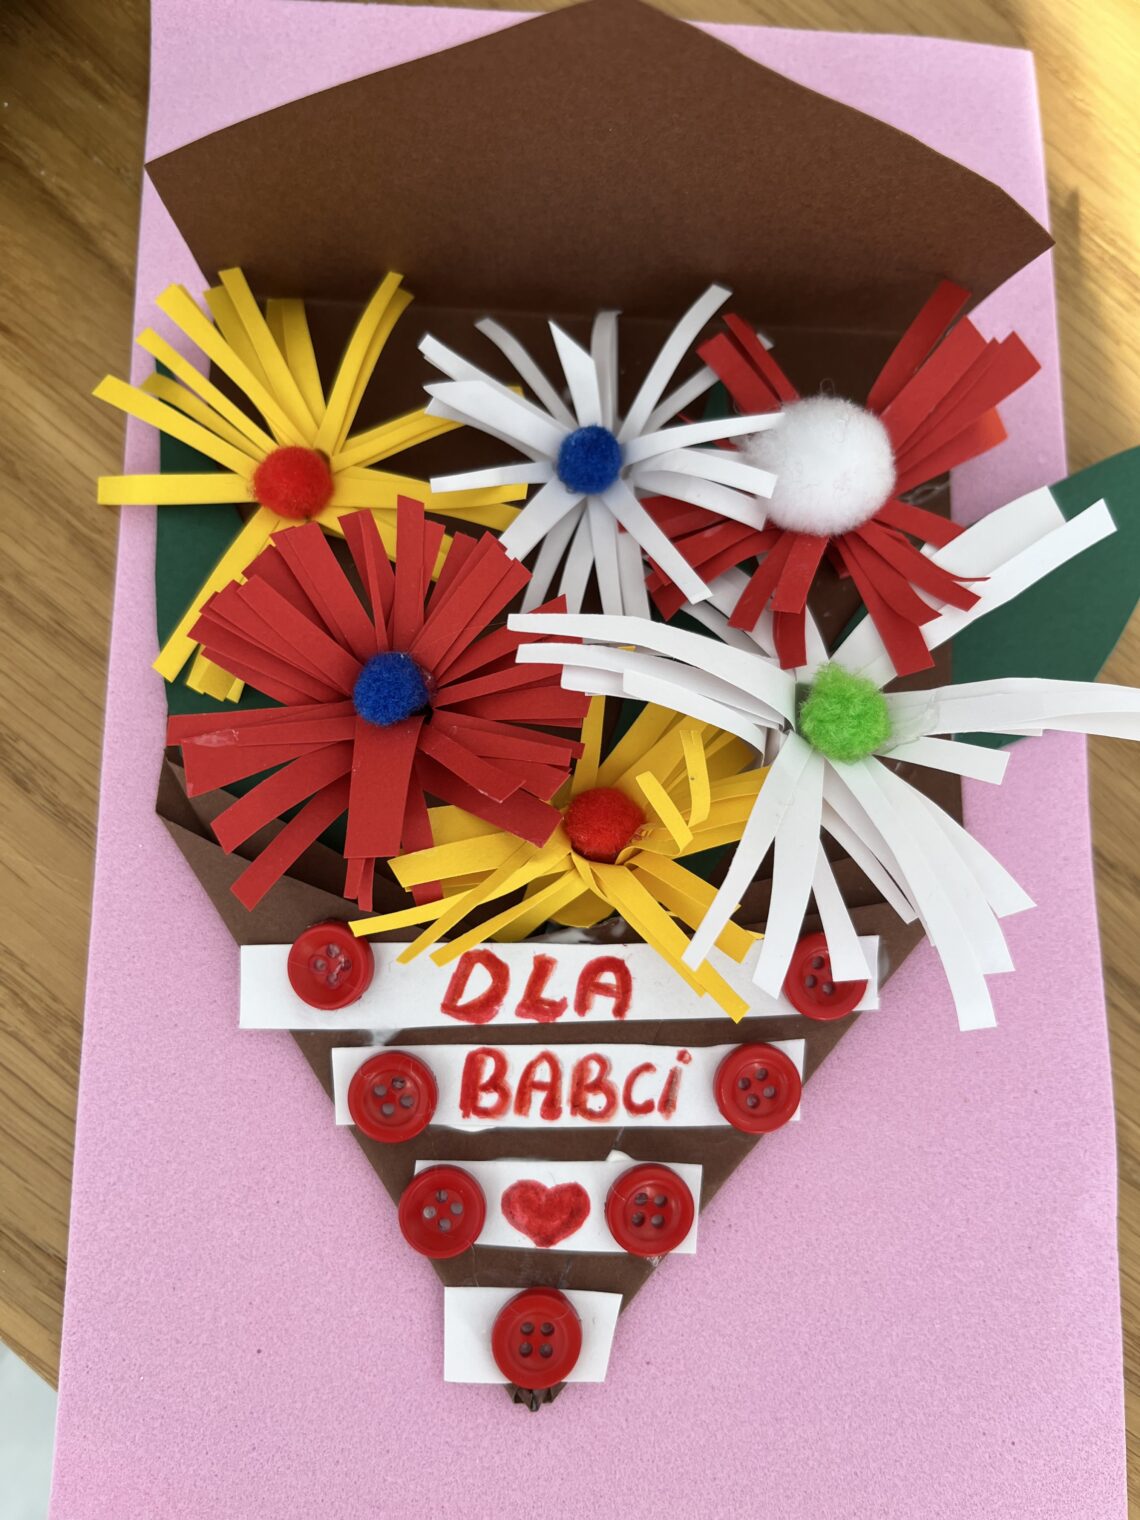
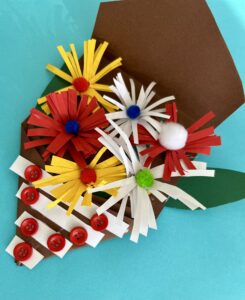
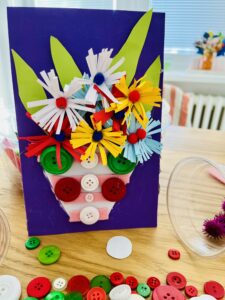
CARD with paper flowers
What my little puzzles don’t need?
DISTURBING PARENTS
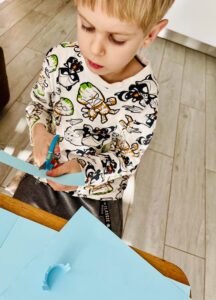
I helped Patrick with gluing paper flowers. Making these flowers is not difficult, but you can’t make a flower without getting your fingers dirty with glue.
What do my little puzzles need?
▪︎full stomach
▪︎drink near to them
▪︎smile
▪︎chill out music
▪︎good energy
And everything on the list below:
☆tables cover
☆colouring paper or construction paper
☆crayons, paints, markers
☆glue
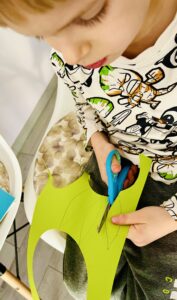
☆scissor
☆fluffy soft pompoms
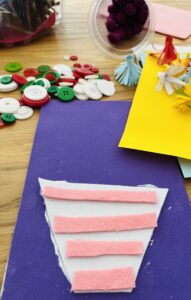
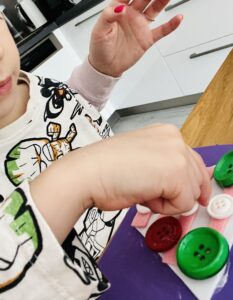
☆buttons or other decorative materials you have at home
☆ anything that will help your child embellish the card
What will we use for an unplanned mess?
☆ wet wipes
☆ kitchen paper
I will show you how easy the DIY card project is:
1. Cut a strip of colouring paper:
SIZES – width up to two centimeters stripes, in length – a whole strip of A4 sheet.
2. Make a small cut on this strip ( look at the photo below )
TIPS:
*the cuts don’t have to be the same size: short, long, wide or thin, it will have a better effect on the appearance of the end of the flower.
3. Apply glue on the end of the flowers.
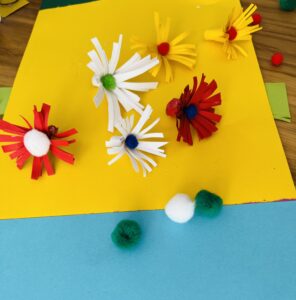
4. Create 5 to 6 colorful flowers.
5. In the center of each flower, glue soft pompoms.
6. Make and add more details like leaves, pot, vase, envelope, decorative buttons, etc.
7. Glue all the paper flowers onto the card.
TIPS:
*slightly cut off the ends of the flower stalks, this will help when sticking the flowers to the card.
8. Create your unique card in your style, colors, and visions.
9. Check out our photos and more of our DIY project at https://www.instagram.com/missmarbell_/
MAKE A SMALL CUT ON THE STRIP
GLUE THE CUT STRIP OF PAPER

ROLL AND CREATE PAPER FLOWERS
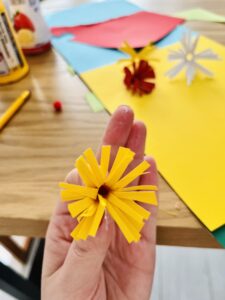
INSERT POMPOMS INSIDE FLOWER
GLUE THE FLOWERS TO THE CARD
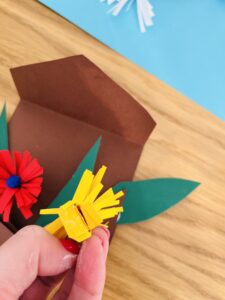
ADD ALL DETAILS: LEAVES, POT, DECORATIVE BUTTONS
CARD FOR ANY OCCASION IS READY


You May Also Like
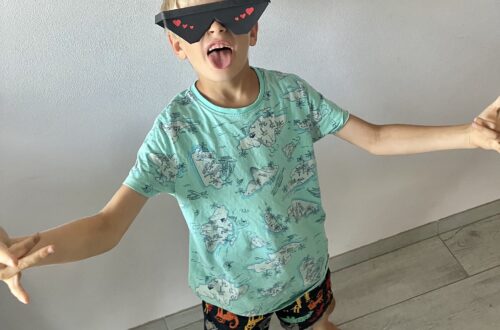
How to create fabulous glasses with little kids?

How to make a spider that scares grannies?
